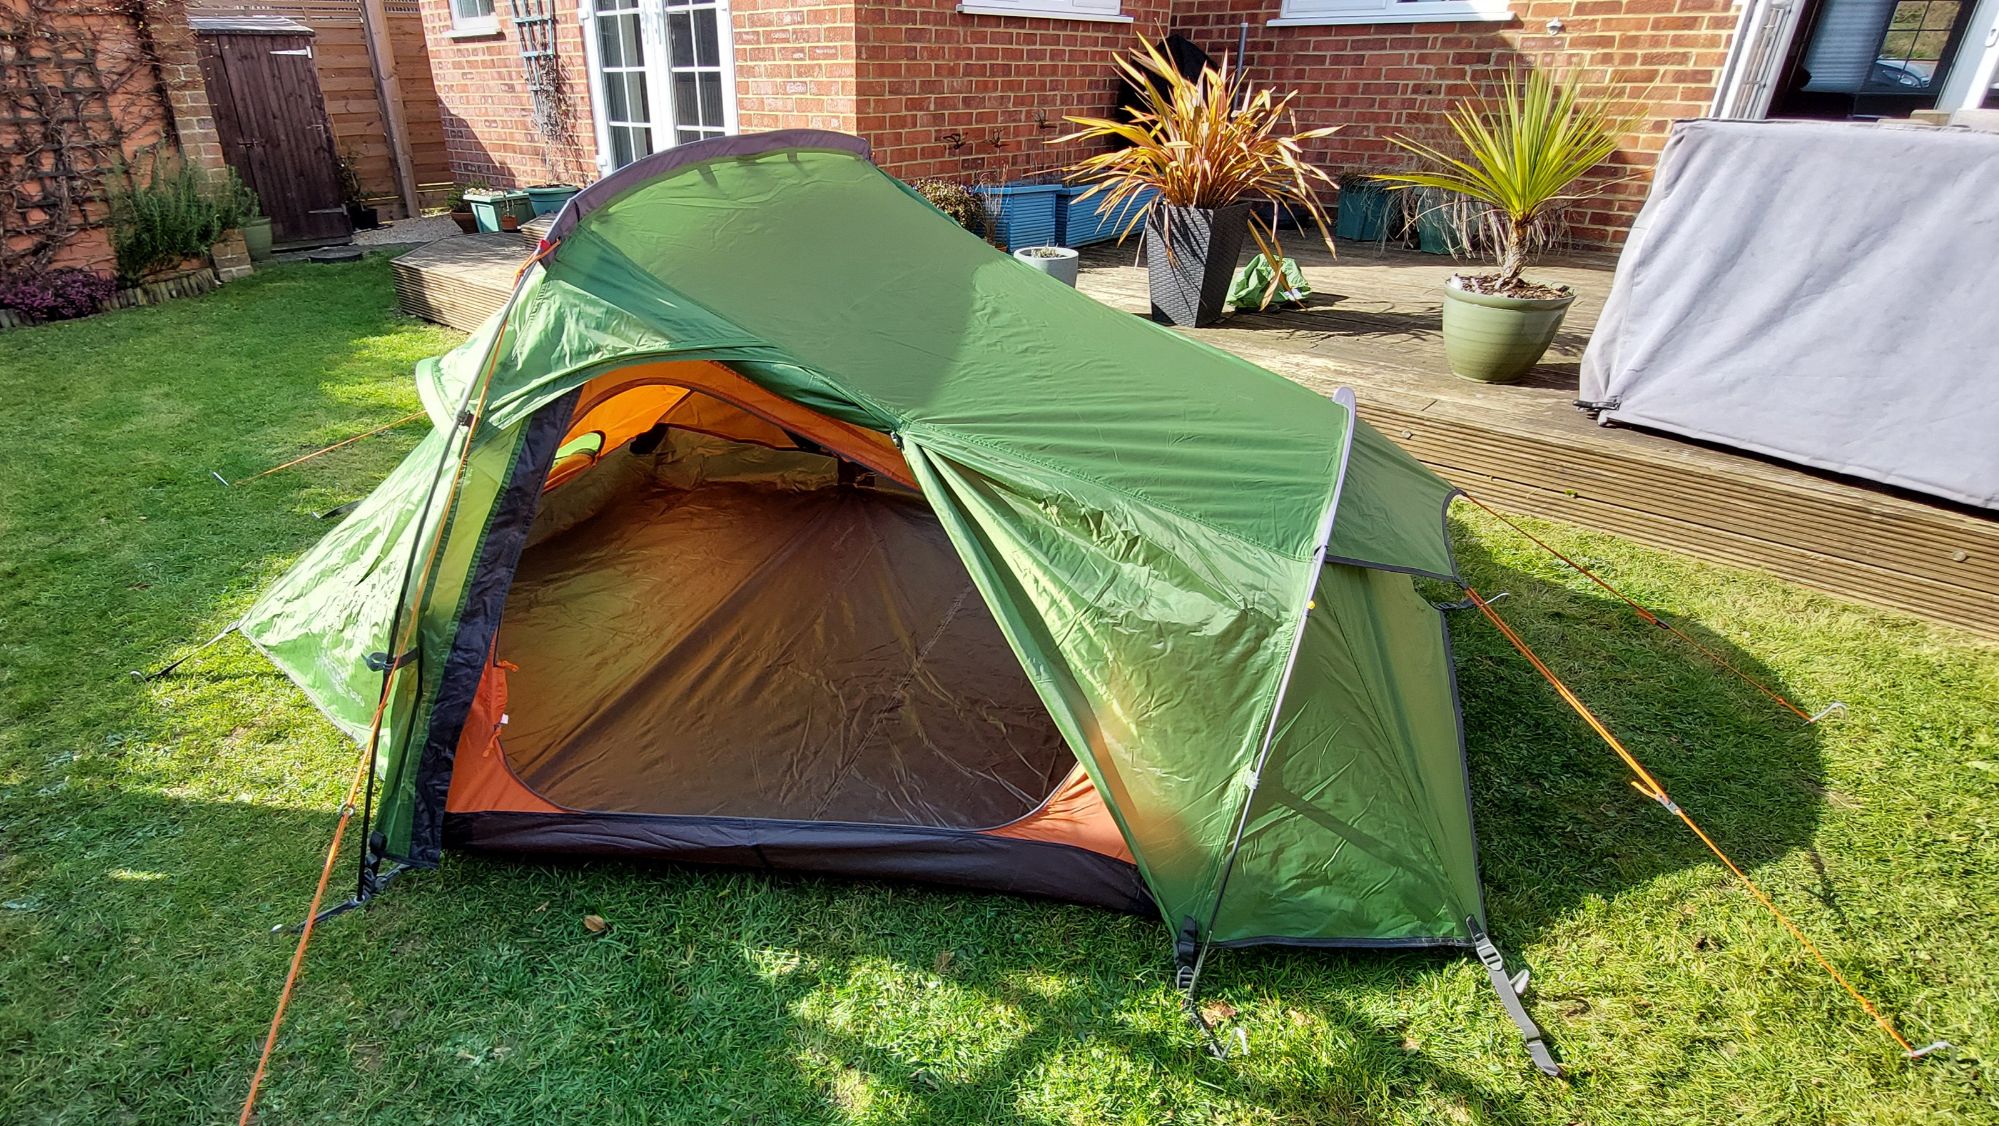
Finally some warm, sunny weather (a bonus for March!) so I decided it was time to get the tent out and set it up. First time ever pitching a tent!
I have to say it was all pretty straightforward, although I confess to having watched a few YouTube videos of others putting up the same tent so I was reasonably familiar with what I needed to do. It took me about 20 minutes in all to get the tent unpacked and setup, (without the inner), slightly longer than planned as I was at one point trying to put one of the poles in the wrong place! Lesson learnt..
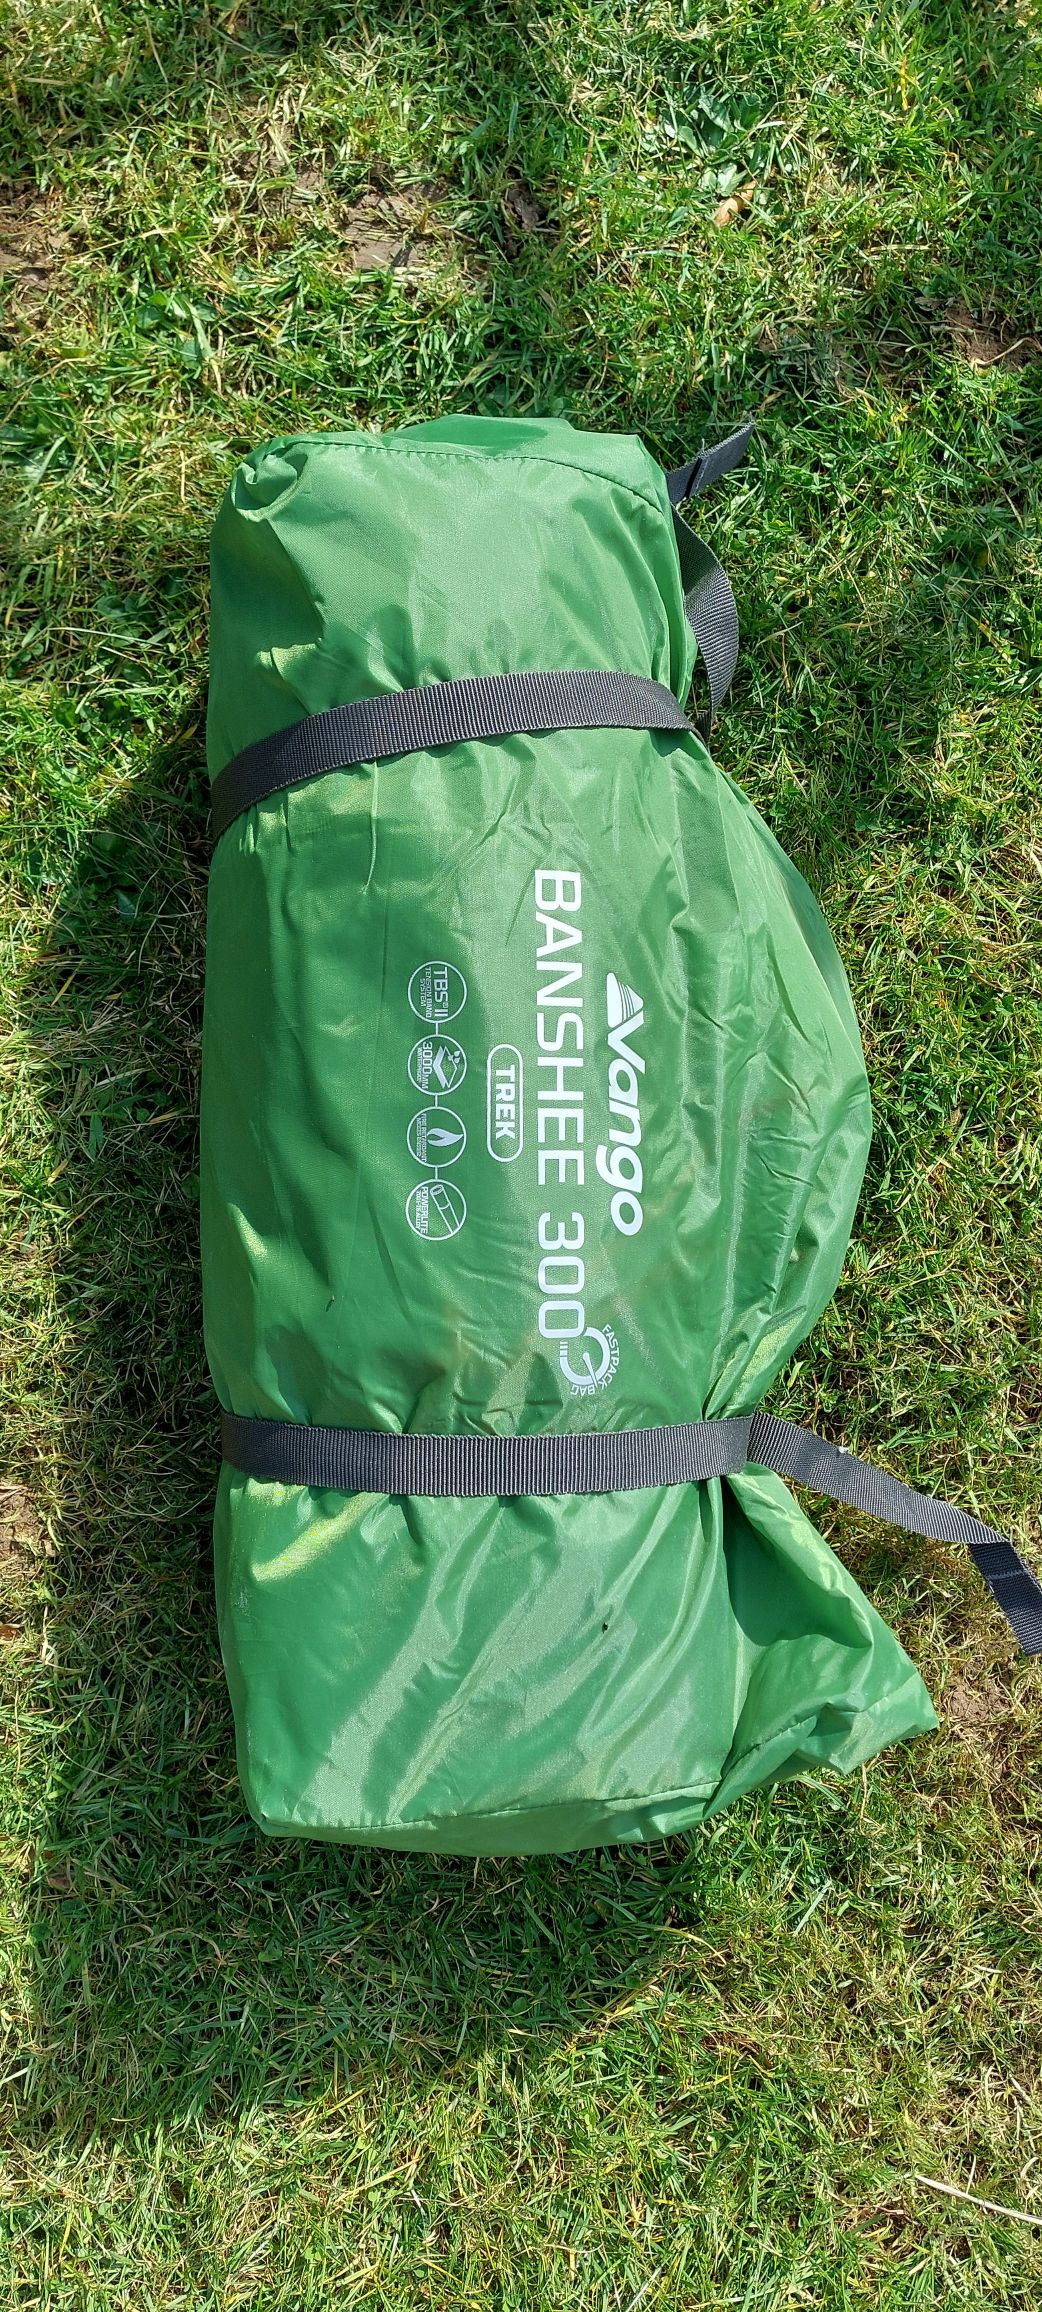
After quite a lot of research I went for the Vango Banshee 300 tent. Its relatively lightweight, weighing in at 2.8kg, slightly more than the Banshee 200 which is 2.4kg but worth it for the extra room. It has a tension band system to help give stability to the tent, and multiple points for pegging down. The inner groundsheet is waterproof, durable, reliable and easy to clean and all folds down nicely into tent bag which has a Packsize of 48 x 19cm, which should be small enough to fit inside a rucksack.
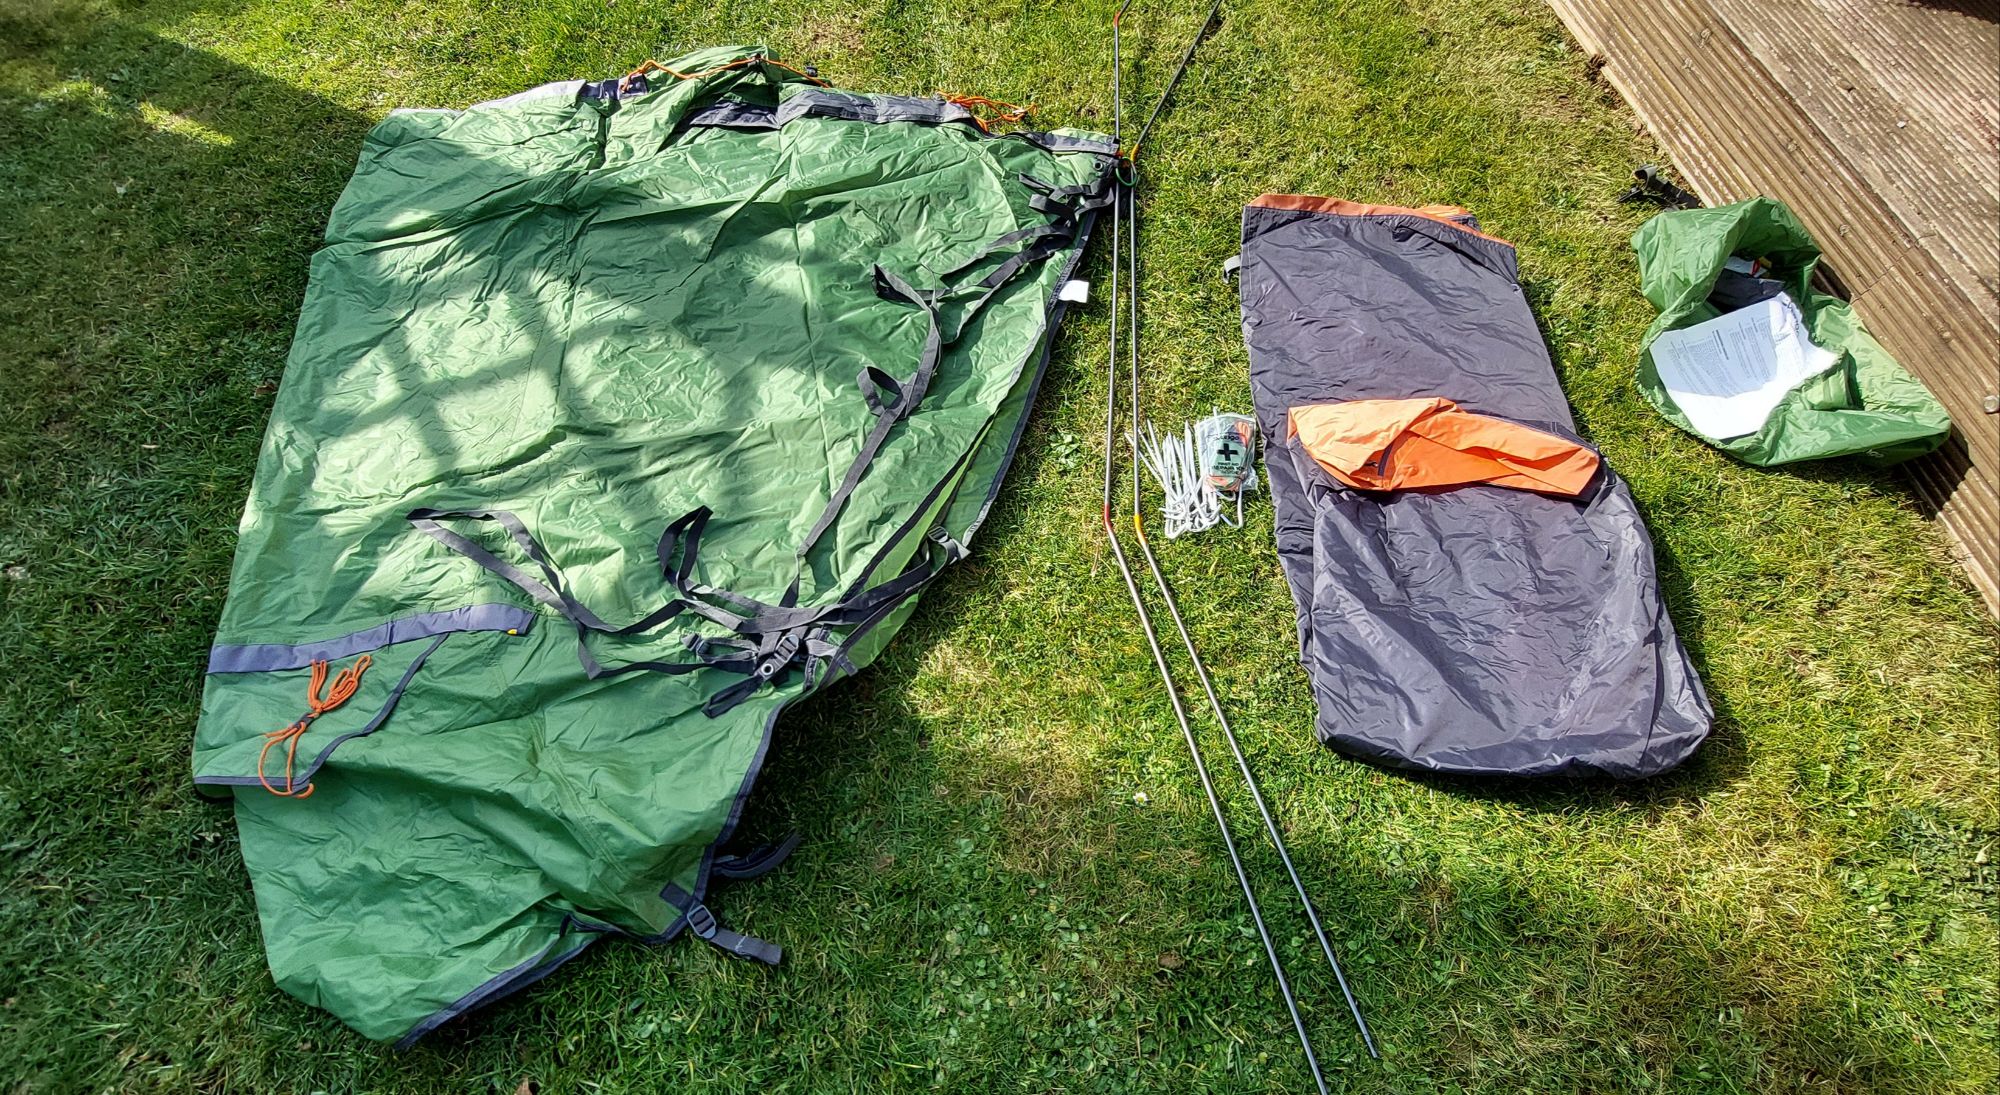
The tent comes in a nice waterproof tent bag with straps to tighten down and compact. Inside we have the inner layer, and the outer skin, plus a bag for the tent tension bands and a bag for the tent pegs, plus a small repair kit.
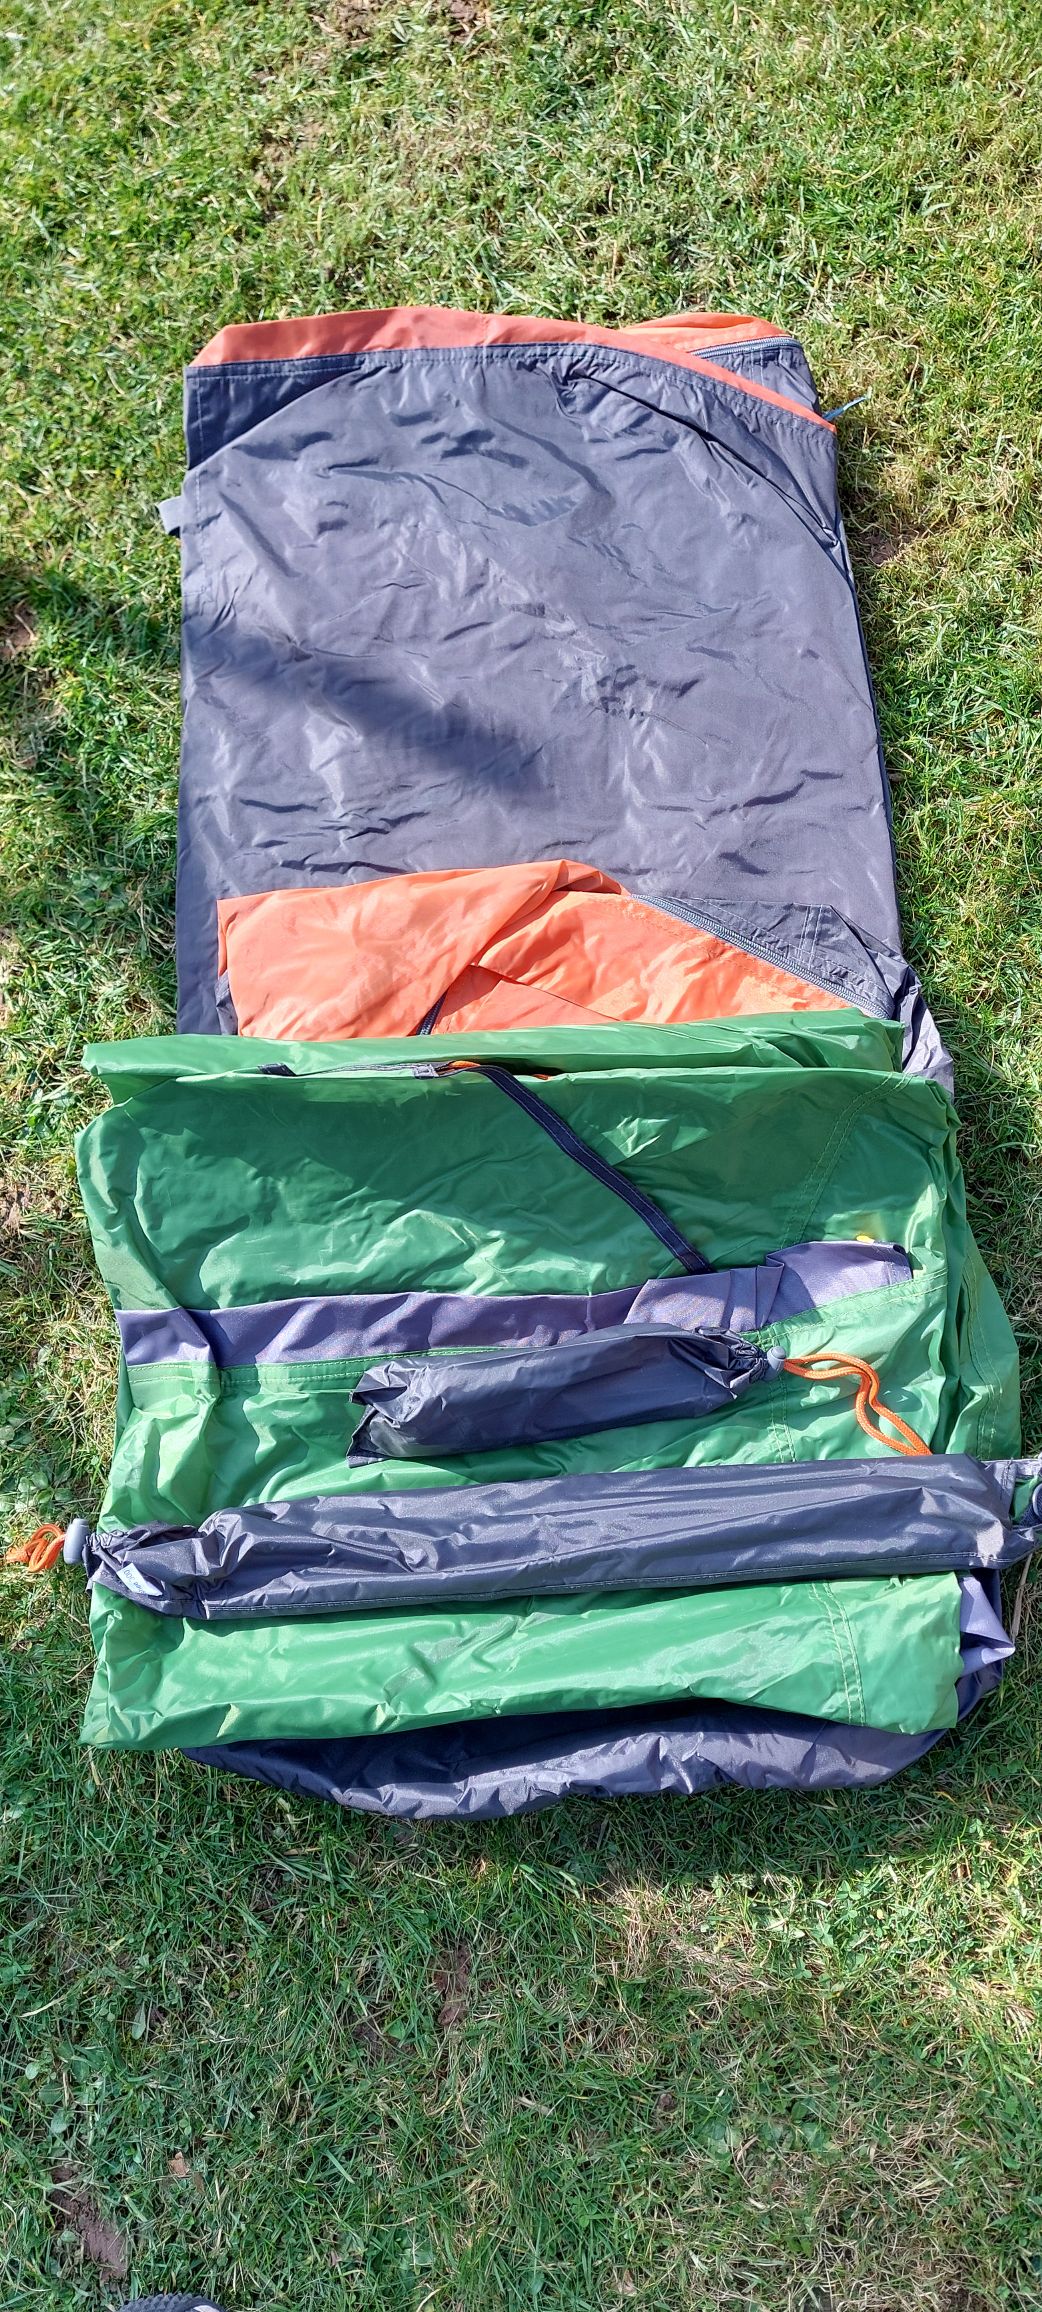
Unravelling the tent layers and the bags a little more…
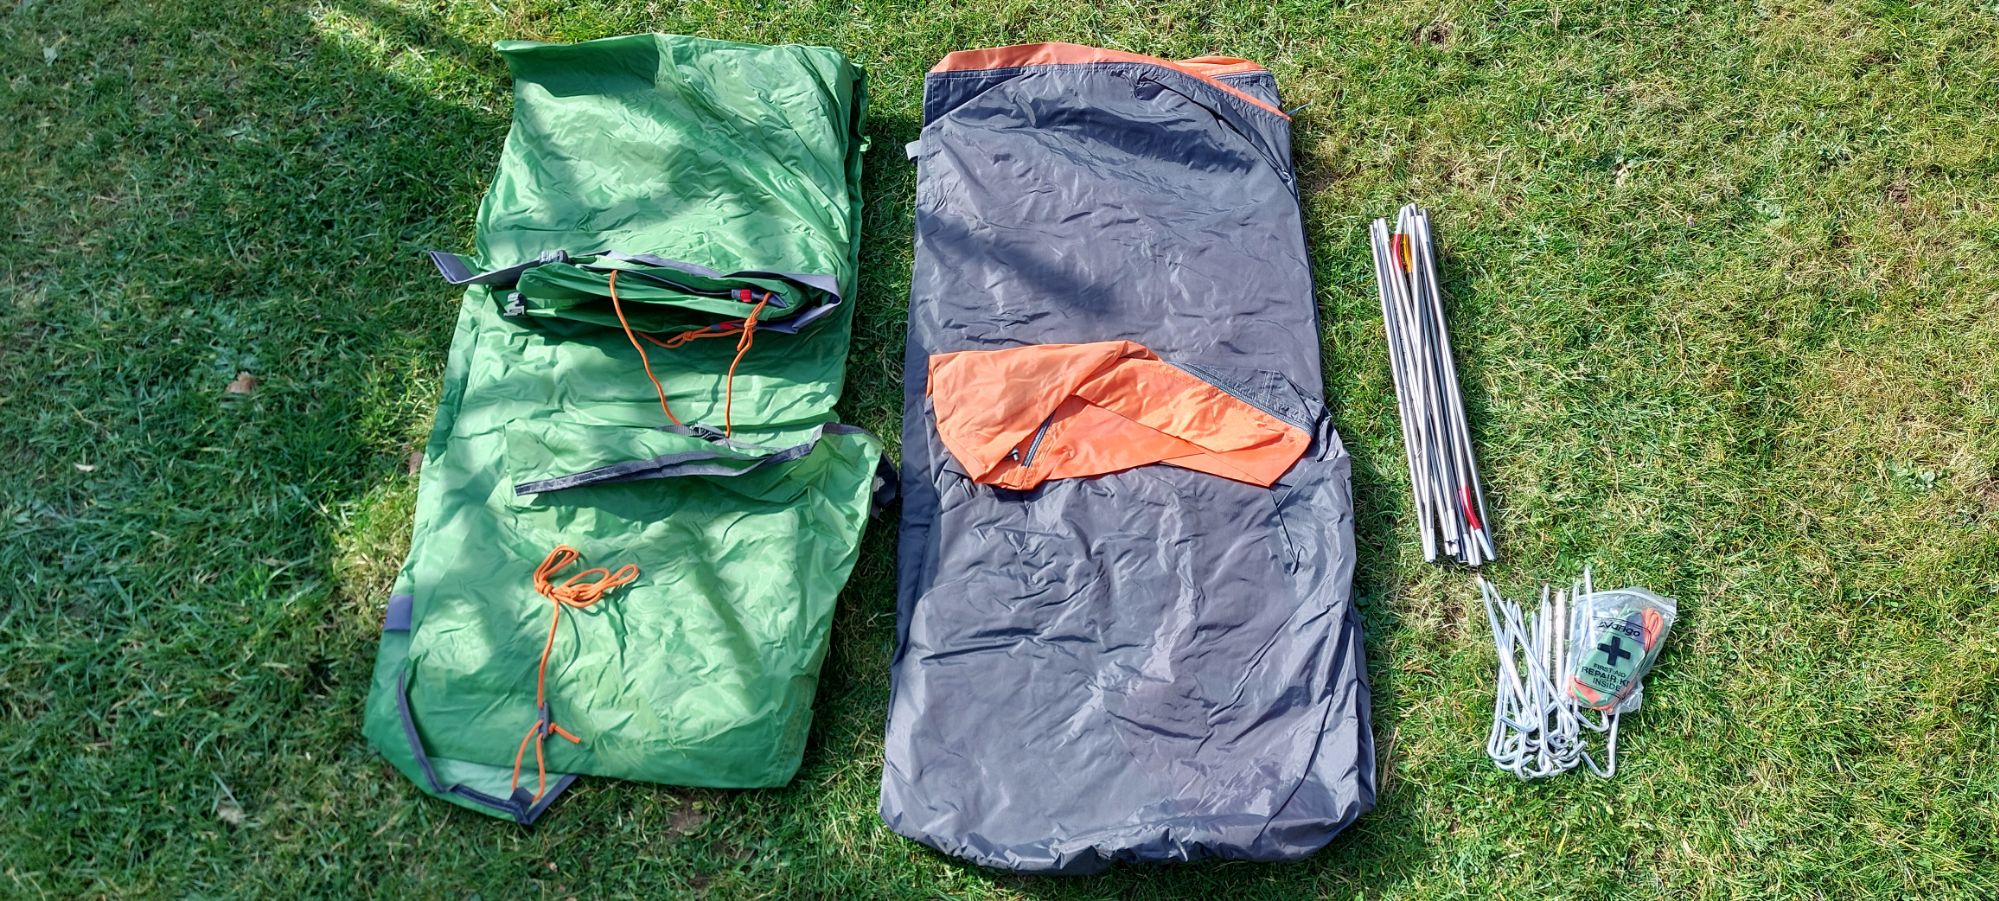
The tent has 2 sets of tension bands or poles, one smaller for the front and a longer set for the back. These are colour coded red and yellow to match small strips of material on the tent to help ensure they are inserted in the right places, nice touch. The tent poles below have been all connected together to form the full size arches.
Here’s the tent all setup, with the inner layer also attached. First time you pitch, the inner layer has to be pitched separately and then connected inside, there are a number of clips and hooks inside to connect the inner layer onto the outer layer. This only needs to be done the once, subsequently the tent can be folded up and pitched with both layers attached together.
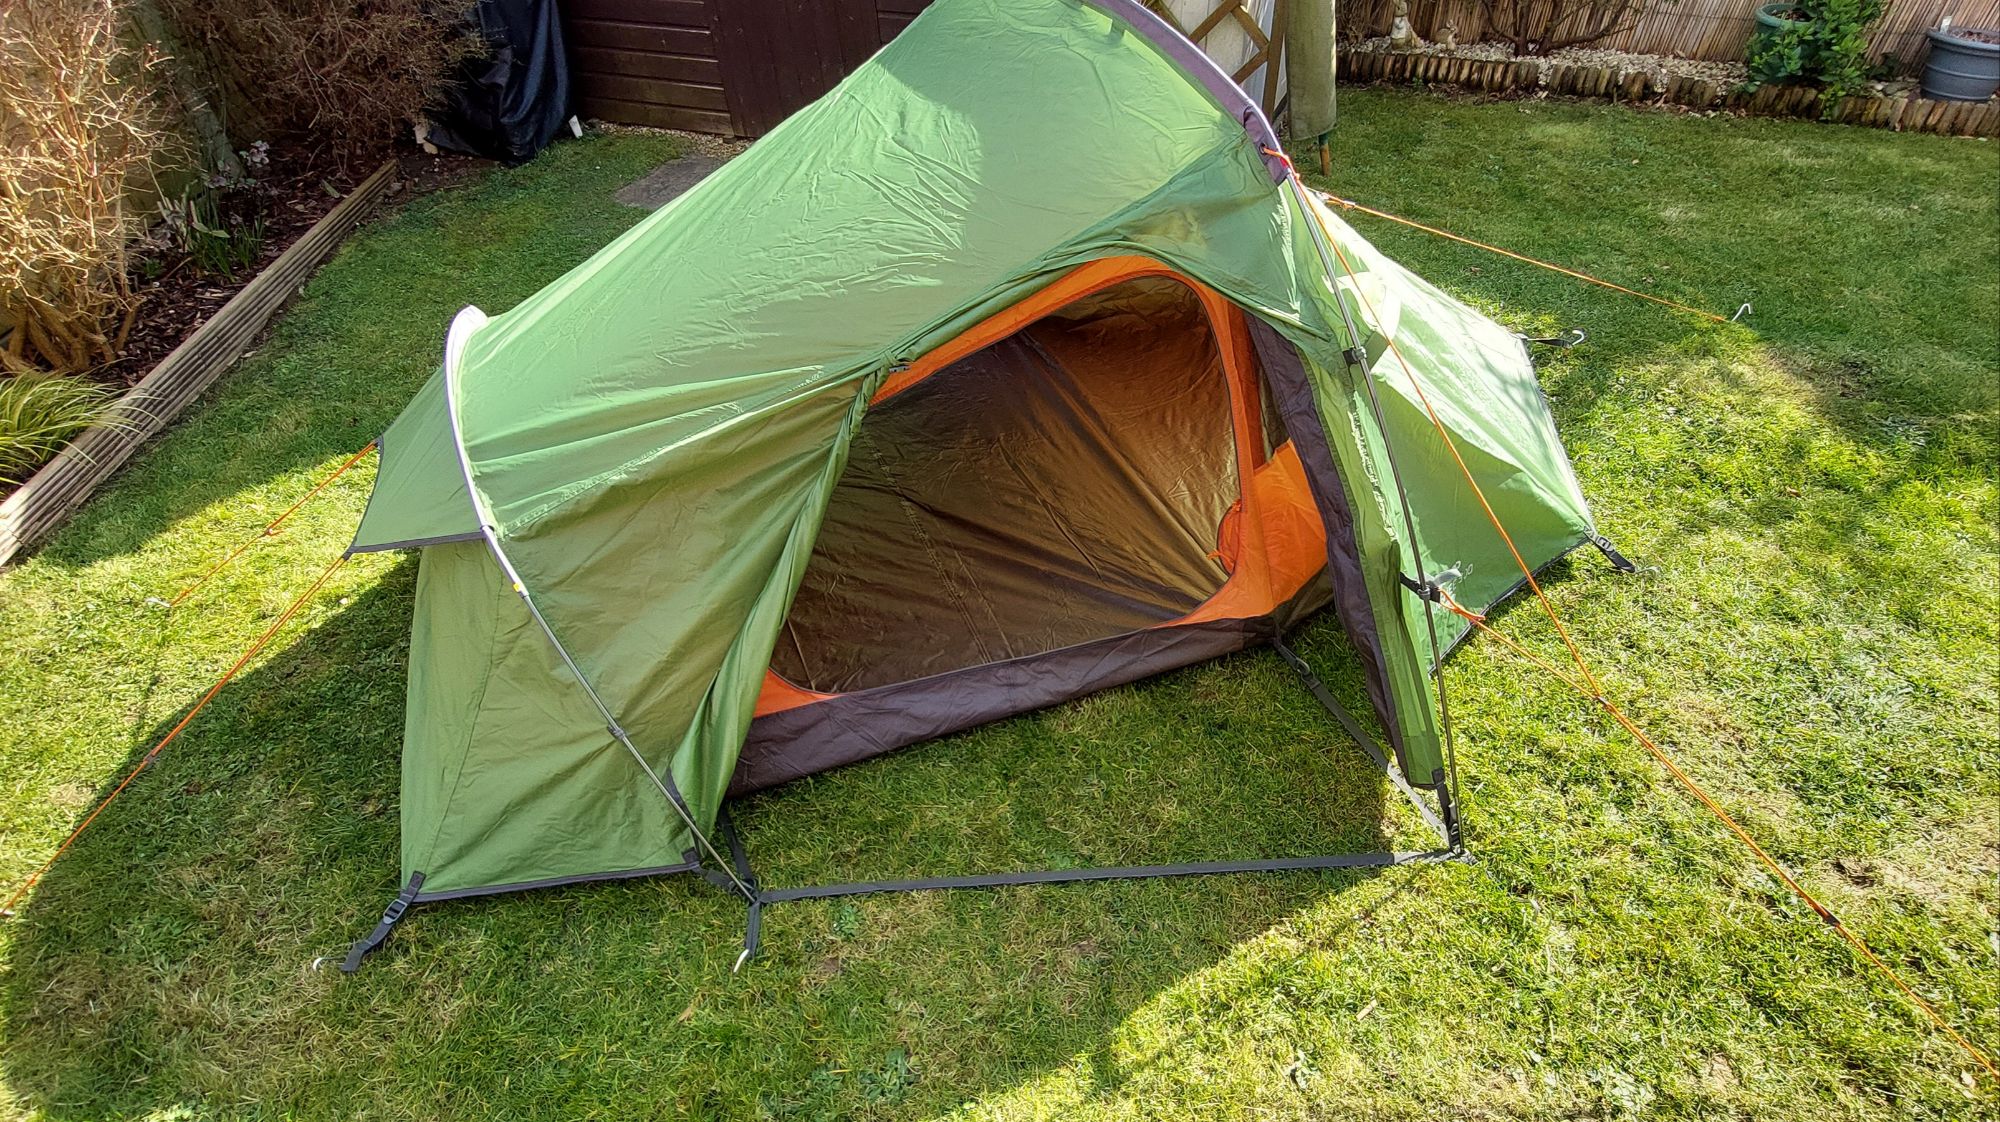
The Inside of the tent is quite spacious, glad I went for the Banshee 300 (3 person) rather than the Banshee 200 (2 person). The 3 person tent is a little wider and longer, meaning its a bit more spacious and hopefully a little more comfortable! The inner layer has doors either side which are unzipped and can be tucked away into some small pockets to the side, meaning they don’t get in the way. One side of the tent has a small triangular area between the inner and outer layers which can be used for storage and the door has an eyelet which can be used with a walking pole to create a small porch.
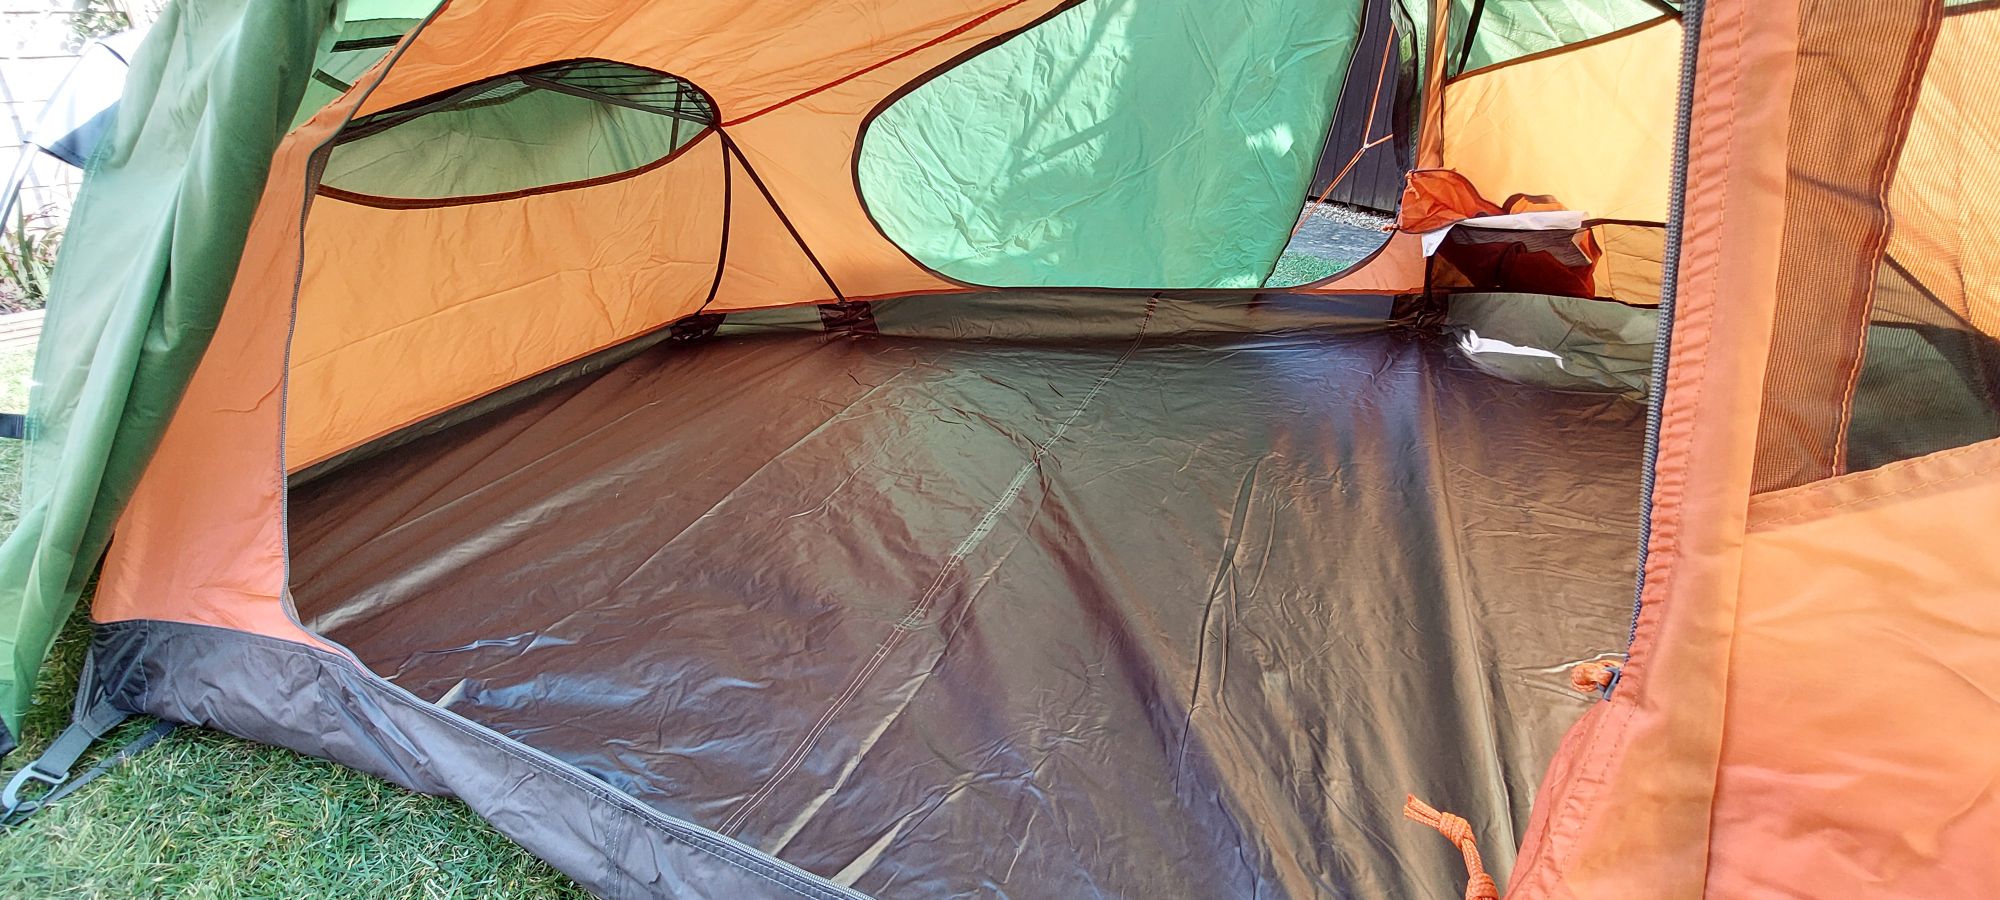
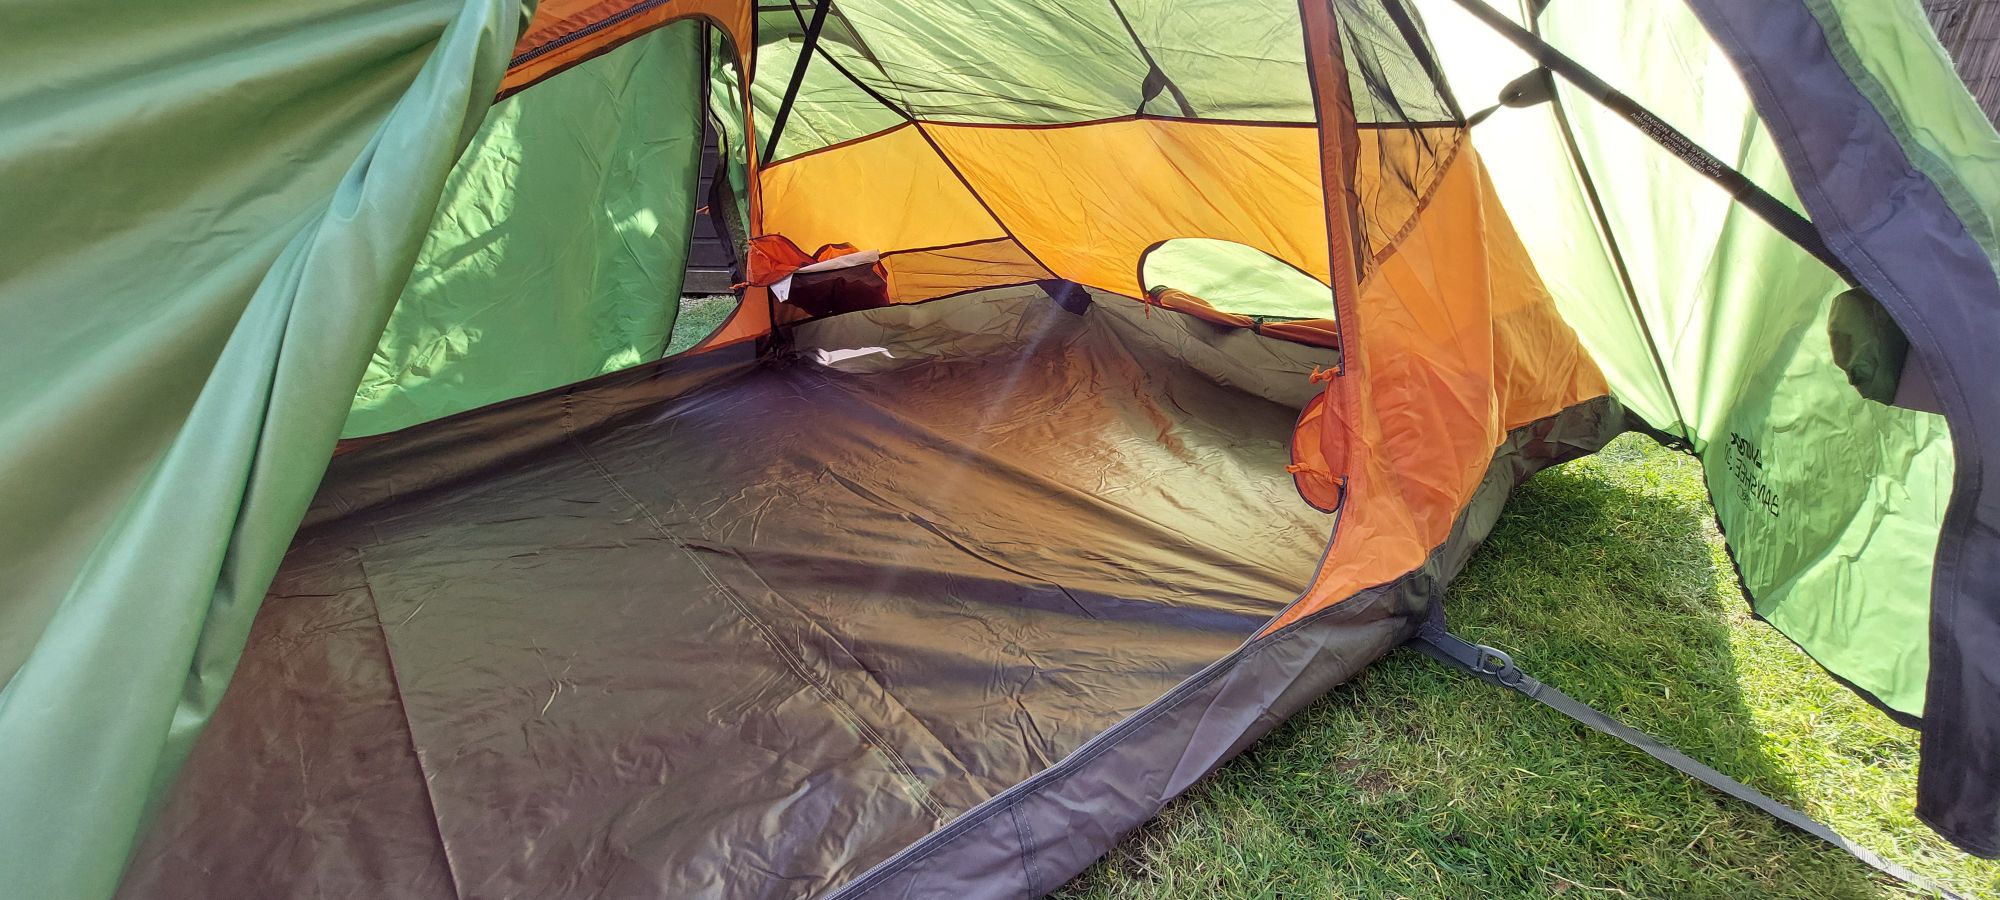
There are also ventilation pods on either side, as well as a small area one end of the tent for storage. All in all, pretty pleased with the tent purchase, lets see how quickly we can set it up and how it performs when we take it for a test camp later in the year before the real thing!
